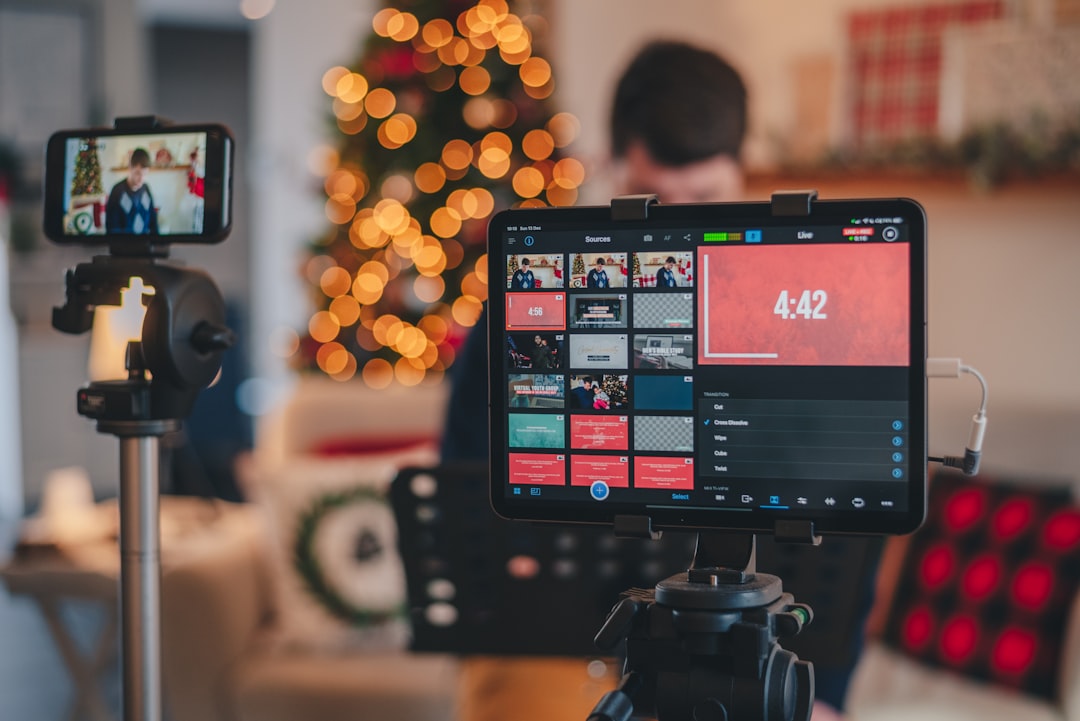
A reliable live stream promotion strategy is a sequence, not a single announcement. This guide gives you a repeatable timeline for planning, publishing, reminding, and following up on a broadcast, plus a tracking system that helps you learn which messages and channels bring viewers back.
Overview
Promoting a live stream starts before the broadcast and continues after the stream ends. Your goal is not to publish the same link everywhere. It is to give potential viewers a clear reason to attend, enough time to plan, and a simple way to remember the event.
A useful promotion plan has four parts:
- Positioning: Define what the stream is about, who it is for, and why it is worth attending live.
- Packaging: Create a specific title, thumbnail or cover image, description, event link, and short call to action.
- Distribution: Adapt the announcement for email, community spaces, social platforms, short-form video, and your own website.
- Measurement: Record when and where you promoted the stream, then compare results after the broadcast.
Use one central event page or platform listing as the source of truth. Link to it consistently, even when the surrounding copy changes. If you use multiple destinations, document the links so you can distinguish a platform problem from a promotion problem. For planning the technical side, use the live streaming setup checklist alongside your promotional workflow.
Platform features, notification settings, post formats, and scheduling options can change. Before each campaign, confirm the current options in the relevant platform's creator tools or help documentation rather than relying on an old checklist.
What to track
1. The basic campaign record
Create a simple row for every scheduled broadcast. Record the stream date and time, topic, platform or platforms, intended audience, primary call to action, and the date promotion began. Add a field for the stream format, such as interview, tutorial, performance, Q&A, launch, or community update. This context matters when you compare broadcasts later.
2. Promotion activity by channel
Track each meaningful promotional action rather than only counting posts. A useful log includes:
- Channel or surface, such as email, community post, short-form video, social feed, website, chat, or direct community message.
- Publication date and time.
- Creative format, such as image, text, vertical video, clip, carousel, or story-style post.
- Audience segment, if you send different messages to subscribers, customers, members, or past viewers.
- Link used and any campaign label you attach to it.
- Views, reach, clicks, replies, saves, shares, registrations, or reminders set, where those metrics are available.
Do not treat every platform metric as directly comparable. A view on a short-form video may represent a different action from a click on an event page. Use each metric to understand the step it measures in the journey.
3. Live attendance and retention
After the broadcast, record peak concurrent viewers, average viewers if available, total live views, average watch time or retention, chat activity, and the number of viewers who arrived from identifiable sources. Also note the scheduled start time, actual start time, stream length, and any technical interruption.
For a broader view of performance, see the live stream analytics guide. Promotion metrics explain how people found the stream; retention metrics help explain whether the stream delivered on its promise.
4. Qualitative signals
Save useful comments and questions. Note which promise appeared in replies, which topic generated confusion, and whether viewers asked for a follow-up. Qualitative feedback can reveal a strong future title or a mismatch between the promotional message and the actual broadcast.
Cadence and checkpoints
The exact schedule should match the size of your audience and the type of event. A recurring weekly stream may need a lighter workflow than a major launch. The table below is a starting point, not a platform rule.
| Timing | Primary task | Recommended activity |
|---|---|---|
| 2–4 weeks before | Plan the event | Choose the topic, audience, guest or format, date, time, platform, title direction, and main viewer benefit. Check conflicts with your own publishing calendar. |
| 7–14 days before | Open discovery | Publish or schedule the event listing if the platform supports it. Announce the topic through your strongest owned channel and invite questions in advance. |
| 5–7 days before | Build interest | Share a clear announcement, publish a related community post, and release a short teaser that demonstrates the problem, question, or performance the stream will address. |
| 2–3 days before | Make the value concrete | Share an agenda, guest introduction, useful preview, or audience question. Refresh the title or description only if it improves clarity and remains accurate. |
| 24 hours before | Remind intentional viewers | Send an email or community reminder where appropriate. Include the date, time zone, topic, link, and one reason to attend live. |
| 1–3 hours before | Reduce friction | Post a short reminder, confirm that the event link works, and prepare a pinned chat message with the topic and participation prompt. |
| At start time | Convert attention into participation | Begin with the promised topic, welcome early viewers, explain how to participate, and restate the next useful moment in the show. |
| Within 24–48 hours after | Extend the campaign | Share the replay or a selected segment, answer unanswered questions, thank attendees, and invite viewers to the next relevant action. |
| 3–7 days after | Review and repurpose | Clip a useful moment, update the content archive, record results, and write one lesson for the next promotion cycle. |
Reusable announcement templates
General announcement: “Join us on [date] at [time and time zone] for [specific topic]. We’ll cover [benefit one] and [benefit two], with time for [questions, demonstration, or audience participation]. Watch here: [link].”
Short-form teaser caption: “Most creators overlook [problem]. In the live stream on [date], we’ll show [specific outcome or process]. Bring your questions: [link].”
Email reminder: “A reminder for [date]: we’re going live to discuss [topic]. If you want help with [specific problem], join at [time and time zone]. You can add your question here: [link].”
Last-call post: “We’re live in [time]. Today’s focus: [topic]. Come for [clear benefit], and bring a question about [related issue]. [link]”
Customize each template for the channel. A feed post can be brief, while an email can explain the context. Avoid making every announcement sound like a generic “going live” notice.
How to interpret changes
Look for patterns across several broadcasts before changing your entire strategy. One unusually strong or weak result may reflect the topic, guest, timing, technical quality, or an external event rather than the promotion itself.
High reach, low attendance
This can indicate that the message was visible but did not make the live benefit clear. Test a more specific title, a stronger reason to attend in real time, or a simpler event link. Check whether the date, time zone, and call to action were easy to find.
Low reach, strong retention
If the viewers who arrived stayed and participated, the content may be sound but under-distributed. Promote earlier, reuse clips from the strongest moments, collaborate with relevant communities, or make the event easier to discover through your platform's available tools.
Strong clicks, weak live attendance
Review the transition between the promotional post and the event page. The page may lack essential information, the timing may be inconvenient, or the message may attract curiosity without setting the right expectation. Compare the promised experience with the opening minutes of the stream.
Strong attendance, weak retention
Promotion succeeded at generating the initial visit, but the stream may have started slowly or differed from the advertised format. Begin with the promised value, reduce long introductions, and use a visible agenda. Technical issues can also affect retention, so review your OBS scene and source setup when relevant.
One channel consistently outperforms others
Do not assume the best channel should receive every message. Ask what role it plays. It may be strong at discovery, reminders, conversation, or replay distribution. Keep measuring the complete path from promotion to attendance and return viewing.
If you multistream, compare the same campaign across destinations carefully. Audience behavior, available analytics, and notification controls may differ. The multistreaming tools comparison can help with the operational side, but promotion should still be adapted to each community.
When to revisit
Review the campaign after every broadcast, then conduct a deeper review monthly or quarterly, depending on how often you stream. The immediate review should capture facts while they are fresh: which posts went out, which link was used, what viewers asked, and whether the event started as planned.
During a monthly review, compare at least three broadcasts when possible. Look for recurring differences in topic, format, start time, lead time, channel, title, thumbnail, and reminder frequency. Choose one or two variables to test next rather than changing everything at once.
Update this workflow whenever a platform changes its scheduling, notification, linking, analytics, or posting options. Also revisit it when you add a new platform, change your stream format, begin using multistreaming tools, or notice that viewers are discovering the replay more often than the live event.
For your next broadcast, complete this compact checklist:
- Write the viewer promise in one sentence.
- Choose a specific title and an accurate visual.
- Create one central event link and record it in your campaign log.
- Schedule the announcement, teaser, reminder, and last-call message.
- Prepare a pinned chat prompt and opening statement.
- Record promotion and attendance metrics after the stream.
- Choose one lesson and one experiment for the next broadcast.
Consistent promotion comes from making the process easy to repeat. Keep the timeline, templates, and tracking sheet together, then refine them from observed viewer behavior rather than guesses.