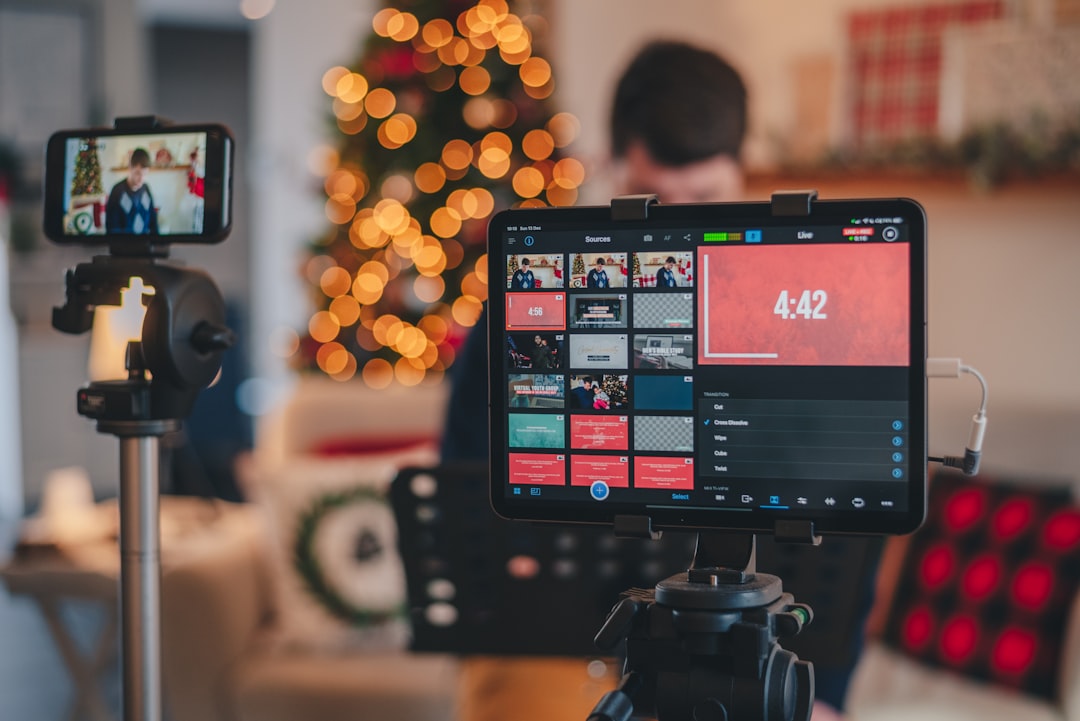
A reliable live broadcast usually depends less on expensive equipment than on a repeatable pre-stream workflow. This live streaming setup checklist walks you through the practical checks that prevent avoidable failures, from internet and audio tests to OBS scenes, browser-based streaming tools, platform settings, moderation, backups, and post-stream review.
Overview
A pre-stream checklist turns setup into a sequence instead of a last-minute scramble. Use it before every broadcast, then shorten it as your process becomes familiar. The goal is not to inspect every setting from scratch each time; it is to confirm the settings and connections most likely to change.
Start with a written show plan. Note the platform or platforms, start time, stream title, topic, guests, planned segments, calls to action, and the person responsible for monitoring chat. If you are using multistreaming tools, include each destination and verify that the format works across all of them. A setup that is suitable for one live streaming platform may need adjustments for another.
For a broader comparison of platform features, costs, monetization options, and multistreaming considerations, see Best Live Streaming Platforms Compared. Once the plan is clear, work through the checklist below in the same order each time.
- Confirm the show: Check the date, time zone, stream title, description, category, visibility, thumbnail, and scheduled event details.
- Confirm the equipment: Connect the camera, microphone, headphones, lighting, capture device, power supplies, and any presentation or performance equipment.
- Confirm the software: Open OBS or your browser-based streaming tool, select the correct scene collection, and check that each source is visible.
- Confirm the connection: Test upload stability, not only the advertised internet speed. Pause large downloads, cloud backups, and other network-heavy activity.
- Confirm the audience experience: Prepare moderation tools, captions where available, chat rules, on-screen branding, and a backup contact method.
Checklist by scenario
For a solo camera-and-microphone stream
Keep the setup simple and test the elements viewers notice first: speech, framing, lighting, and connection stability.
- Place the camera at eye level and check that the frame is intentional. Remove distracting objects from the background.
- Position the microphone close enough for a clear voice without blocking the image. Wear headphones during testing so you can catch echo or desktop-audio bleed.
- Set the key light or primary light in front of you rather than directly behind you. Look for glare, harsh shadows, and changes caused by daylight.
- Open the streaming software and confirm that the correct camera and microphone are selected. Do not assume a device was not replaced or renamed since the last broadcast.
- Record a short local test. Watch it back with headphones and check speech clarity, lip sync, exposure, focus, and background noise.
If you are still building your equipment list, use the companion camera, microphone, lighting, internet, and OBS setup checklist as a more detailed reference.
For an OBS-based production
OBS gives you control over scenes, sources, transitions, audio routing, and recording. That flexibility also creates more places for a setting to go wrong.
- Open the intended scene collection and check every scene: starting screen, live camera, presentation, interview, break, and ending screen.
- Preview each browser source, media source, capture card, and display capture. Confirm that alerts and embedded pages load correctly.
- Check source order. A full-screen source placed above a camera or presentation can hide it even when the source itself is working.
- Review the audio mixer. Speak at your normal volume and make sure the microphone is active without reaching the clipping range. Confirm that music, guests, and desktop audio are balanced rather than competing with speech.
- Verify your recording path and available storage if you plan to create clips, captions, show notes, or a replay.
- Run a private or unlisted test when the platform supports that workflow. Check the outgoing feed from a separate device, not only the OBS preview.
For a first-time workflow, an overlay, alert, and on-screen branding tool guide can help you decide which visual elements are useful and which add unnecessary complexity.
For a guest interview or panel
Guest streams need a separate technical check because the failure may occur on someone else’s device or connection.
- Send guests a short preparation note with the start time, joining link, headphones recommendation, camera position, lighting guidance, and backup contact.
- Join the call early and check each guest’s microphone, camera, background, and local environment.
- Confirm who can mute participants, remove an accidental source, manage questions, and communicate privately if a guest loses connection.
- Prepare a holding scene or slide for late arrivals, technical interruptions, and planned breaks.
- Ask guests to close notifications and unrelated applications that could appear in a screen share.
For music, performance, or podcast streaming
Performance and podcast workflows require extra attention to audio routing. Identify every audio source before going live: voice, instruments, playback, remote guests, and monitoring.
- Test the loudest expected section rather than only speaking quietly into the microphone.
- Check for feedback loops between speakers, microphones, conferencing software, and the streaming application.
- Confirm that any music or media you plan to use is appropriate for the intended broadcast and replay workflow.
- Mark likely clip points or memorable segments in your notes so post-stream editing is easier.
- Keep a spoken introduction ready in case a technical delay affects the planned opening.
What to double-check before going live
Internet and bitrate
Choose bitrate settings conservatively based on your upload connection, computer performance, resolution, frame rate, and platform requirements. The best setting is not necessarily the highest available setting; it is the one your connection can sustain without dropped frames or interruptions.
Run a speed and stability test close to the broadcast time. If possible, use a wired connection. If you must use Wi-Fi, stay close to the access point, reduce competing traffic, and avoid changing networks during the show. Record your usual results so you can recognize when a connection is unusually weak.
Audio and video
- Listen for hum, fan noise, echo, distortion, and delayed monitoring.
- Check that the camera is focused and that exposure will not change unexpectedly when you move.
- Confirm that your frame leaves room for captions, chat prompts, or lower-third graphics.
- Look at the output on a phone as well as a desktop. Small text and subtle audio problems are easier to notice on another device.
Platform and audience settings
- Confirm the correct account, destination, privacy setting, category, language, title, description, and thumbnail.
- Check whether chat is enabled and whether moderators have the permissions they need.
- Pin a useful message with the topic, links, rules, or question you want viewers to answer.
- Review your stream title for clarity. Put the subject and useful context near the beginning rather than relying on vague branding.
- Make sure your start and end screens do not promise links, guests, or segments that are no longer part of the show.
Platform-specific preparation can vary, so review the relevant guidance for YouTube Live, Twitch, or TikTok Live when your workflow changes.
Backups and recovery
Prepare a fallback before you need it. Keep a second microphone or headset available if practical, save presentation files locally, and write down the platform login or technical contact process without exposing credentials. Have a simple holding message ready: explain that you are troubleshooting, give viewers a return time if you know it, and resume with a brief recap rather than pretending nothing happened.
Common mistakes
- Testing only the preview: A local preview does not confirm that viewers receive the correct audio, video, or platform destination. Check the public or test output on another device.
- Changing several variables at once: When troubleshooting, change one setting at a time and record what worked. This prevents a successful fix from becoming impossible to reproduce.
- Ignoring audio until the end: Viewers may tolerate an imperfect image more readily than unclear or inconsistent speech. Test audio before refining graphics.
- Using a complicated scene collection: Every extra source, browser page, and automation creates another possible failure point. Remove anything that does not serve the show.
- Forgetting local storage: A full drive can interrupt recording or prevent you from saving the broadcast for clips and repurposing.
- Starting without a moderation plan: Decide who watches chat, how questions are selected, and what happens if an unwanted message or disruptive guest appears.
- Skipping the post-stream check: A broadcast can look successful while still revealing audio imbalance, poor framing, or connection problems in the replay.
For ideas on turning a successful broadcast into additional content, review how to repurpose a live stream into clips, Shorts, Reels, and podcasts.
When to revisit this checklist
Use the full checklist before your first stream, after changing equipment, and whenever you move to a new platform or streaming software. Revisit it before seasonal planning cycles, after an operating-system or application update, and whenever a broadcast reveals a failure that was not covered.
Keep a short change log beside the checklist. Record the date, software version if relevant, camera and microphone changes, bitrate settings, connection type, and any problem encountered. At the end of each broadcast, answer three questions: What failed or nearly failed? What did viewers report? What can be removed or automated next time?
Before your next show, complete these final actions:
- Open the checklist at least 30 minutes before the scheduled start, or earlier for a guest or complex production.
- Run the audio, video, and outgoing-feed test.
- Confirm the destination, title, visibility, moderation, and backup plan.
- Start the broadcast with a simple opening scene and verify that the live indicator is active.
- After ending, review the replay, note one technical improvement, and save the updated checklist for the next session.
A reliable live streaming setup is an operating habit, not a one-time purchase. Keep the workflow visible, simplify it as you learn, and update it whenever your tools, platforms, or show format changes.