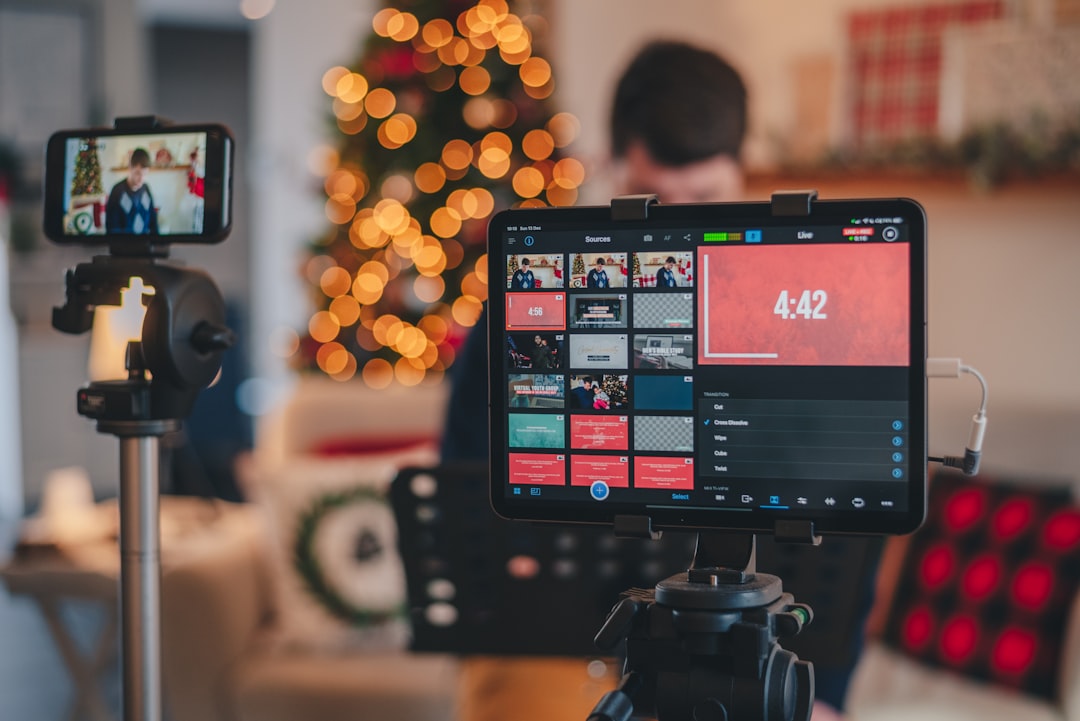
A well-organized OBS Studio scene collection makes a live show easier to operate, easier to troubleshoot, and more consistent for viewers. This guide walks through a reusable OBS scene setup for gaming, talking, podcasts, interviews, presentations, and performance streams, with practical naming conventions, source checklists, hotkeys, and pre-show checks.
Overview
Think of an OBS scene as a production state: a specific combination of video, graphics, audio, and browser sources that you can activate during a broadcast. Instead of rebuilding your layout while live, create the states you expect to use and connect them with clear transitions or hotkeys.
A dependable scene collection usually includes six core scenes:
- Starting: A branded holding screen shown before the broadcast begins.
- Countdown: A timer or short looping animation that signals the show will start soon.
- Main: The primary layout for your content.
- Break: A temporary screen used when you need to step away.
- Interview: A layout for a guest, co-host, or remote contributor.
- Ending: A closing screen with next steps, social links, or a schedule.
Keep scenes focused. A scene should describe what the audience sees, while sources are the individual building blocks inside it: cameras, capture devices, images, text, media, browser pages, and audio inputs. This separation makes redesigns safer. You can replace a camera source without rebuilding every scene, or update a lower-third graphic without changing the underlying layout.
Before building, decide on your base canvas and output resolution. Your platform, computer, camera, and internet connection all influence that choice. Use the same aspect ratio across your scenes so that moving from a game capture to a camera layout does not introduce unexpected cropping. For platform-specific resolution and bitrate planning, review this live streaming bitrate and internet speed guide.
A practical naming template
Consistent names prevent mistakes when a collection grows. Use a simple prefix and category system such as:
- SC - Starting
- SC - Countdown
- SC - Main - Game
- SC - Main - Camera
- SC - Break
- SC - Interview
- SC - Ending
Name sources by function rather than by the device's default label. For example: CAM - Face, CAP - Game, AUD - Mic, AUD - Desktop, GFX - Lower Third, BR - Alerts, and TXT - Topic. This makes it obvious what a source does and reduces the chance of selecting the wrong camera or browser page.
Checklist by scenario
1. Starting and countdown scenes
Create a quiet, readable opening state. Add a background image or looping media source, your channel name or show title, and a short instruction such as “Starting shortly.” If you use music, add it as a media source or route it through the audio mixer and confirm that it is licensed for your intended use.
- Use a static fallback image beneath any animated media.
- Set looping media deliberately and test what happens when it ends.
- Keep countdown text large enough to read on mobile screens.
- Mute sources that should not be audible until the show begins.
- Confirm that the countdown does not continue playing over the main scene.
2. Main gaming scene
For gaming, the game capture should usually be the visual foundation. Add the webcam, alerts, chat, labels, and other overlays as separate sources above it. Place graphics where they do not obscure important interface elements, subtitles, health bars, or gameplay text.
- CAP - Game: Game Capture, Window Capture, or Display Capture as appropriate.
- CAM - Face: Webcam or camera input with a consistent crop.
- BR - Alerts: Browser source for event notifications.
- GFX - Frame: Optional border or branded camera frame.
- TXT - Topic: Optional stream title, challenge, or current objective.
- AUD - Mic: Voice input with filters applied in the mixer.
- AUD - Game: Game or desktop audio routed separately when possible.
Make a second gaming scene without the camera if you occasionally need a full gameplay view. Name it SC - Main - Game Full rather than duplicating sources with confusing labels.
3. Talking, podcast, and presentation scenes
For a talking show or podcast, prioritize faces and speech over decorative elements. Use a camera layout with a clean background, a microphone source, and a modest lower third. If you have multiple speakers, prepare a two-person or grid layout before going live rather than resizing sources manually.
- SC - Talk - Solo: One camera, topic label, and optional chat panel.
- SC - Interview: Guest and host in equal or intentionally weighted frames.
- SC - Presentation: Slides or screen capture with a smaller camera frame.
- SC - Talk - Full: A camera-only fallback if a screen or guest feed fails.
For a podcast, keep microphone sources clearly separated in the Audio Mixer. This makes it easier to lower music, mute a guest, or identify an unexpected input. Use the live stream audio troubleshooting guide when checking echo, noise, volume, or sync.
4. Interview and guest scenes
Build the guest layout before the guest arrives. Include a dedicated browser source or capture source for the guest platform, a host camera, name labels, and a fallback scene. Do not assume that a guest link, browser tab, or virtual camera will behave exactly as it did during an earlier test.
- Label host and guest positions clearly in the scene preview.
- Prepare a guest-offline version with a neutral message.
- Keep a private contact method available outside the live chat.
- Test whether the guest audio enters through OBS, the browser, or another application.
- Use a moderator or producer when possible to watch chat and technical issues.
5. Break and ending scenes
A break scene should communicate that the broadcast is still active without exposing an idle desktop, private message, or unplanned camera view. Use a short message, optional music, and a return cue. The ending scene can include a thank-you message, the next broadcast topic, and a clear action such as following, subscribing, or joining an email list. Keep it useful rather than crowded.
What to double-check
Run through this audit before every important broadcast:
- Sources: Confirm that the camera, capture device, microphone, alerts, media, and browser sources load correctly. Check that browser sources display the intended page and not a login screen or unrelated tab.
- Source order: Verify the layer order. A full-screen image placed above a camera or capture source can make that source appear broken when it is merely hidden.
- Audio routing: Speak into the microphone, play desktop audio, and monitor for echo. Check mute states, filter settings, and whether monitoring is enabled only where needed.
- Alerts: Trigger a test alert and confirm its size, position, sound, and duration. Keep a duplicate scene without alerts in case the browser source fails.
- Hotkeys: Assign and test scene changes, source visibility, push-to-talk, and emergency mute controls. Avoid shortcuts that conflict with the game or other software.
- Transitions: Preview each transition between starting, main, break, interview, and ending scenes. A short fade is often safer than an elaborate transition that causes a performance spike.
- Privacy: Close private tabs, disable desktop notifications, and use a dedicated capture window when sharing a screen.
- Backup scenes: Keep a camera-only, starting, and ending fallback available. A simple working scene is more valuable than a complex layout you cannot recover.
Save a copy of the scene collection after major changes. Also record which profile contains your output and encoder settings so that a layout change does not accidentally alter the technical configuration. OBS scene collections and profiles serve different purposes: scenes and sources define the visual production, while profiles generally hold output-related settings. Keeping that distinction clear makes troubleshooting more orderly. For a deeper collection structure, see the OBS scene collection guide.
Common mistakes
- Duplicating everything: Copying entire scenes repeatedly can create stale sources, mismatched filters, and hard-to-maintain layouts. Reuse sources where practical and duplicate only when the visual arrangement truly differs.
- Building during the broadcast: Live resizing, cropping, and browser troubleshooting increases the risk of showing private information or losing the audience's attention. Prepare the likely states in advance.
- Overloading the screen: Too many alerts, labels, borders, and widgets compete with the content. Remove anything that does not help viewers understand the show.
- Relying on one capture method: If a game capture or camera fails, a prepared display, window, or camera-only fallback can keep the broadcast moving.
- Ignoring audio: A polished layout cannot compensate for unclear speech or an echo. Test audio separately from the visual design.
- Using untested plugins: Extensions and browser integrations can change behavior after updates. Use only tools you understand, keep alternatives available, and test plugin compatibility before a major show.
When to revisit
Review your OBS scene setup before a new season, a redesigned show, a camera or microphone change, a new guest format, or a move to another live streaming platform. Recheck it at least twice a year even if the show appears stable. OBS menus, plugins, browser sources, capture devices, and platform canvas requirements can change over time, so a scene that worked months ago deserves another test.
Use this short maintenance routine:
- Open every scene and confirm that each source is present and visible.
- Test the camera, microphone, alerts, media, and guest workflow.
- Check scene transitions and all production hotkeys.
- Record a short local test and review framing, audio balance, and screen privacy.
- Export or back up the scene collection and note the date of the review.
- Remove unused scenes and sources so the live workspace stays readable.
Keep a one-page streaming checklist beside your workstation. The goal is not to create the most elaborate OBS setup; it is to create a predictable one that still works when a camera disconnects, a guest is late, or an alert fails. Once the core scenes are reliable, you can refine overlays, promotion, moderation, and analytics without putting the broadcast itself at risk.