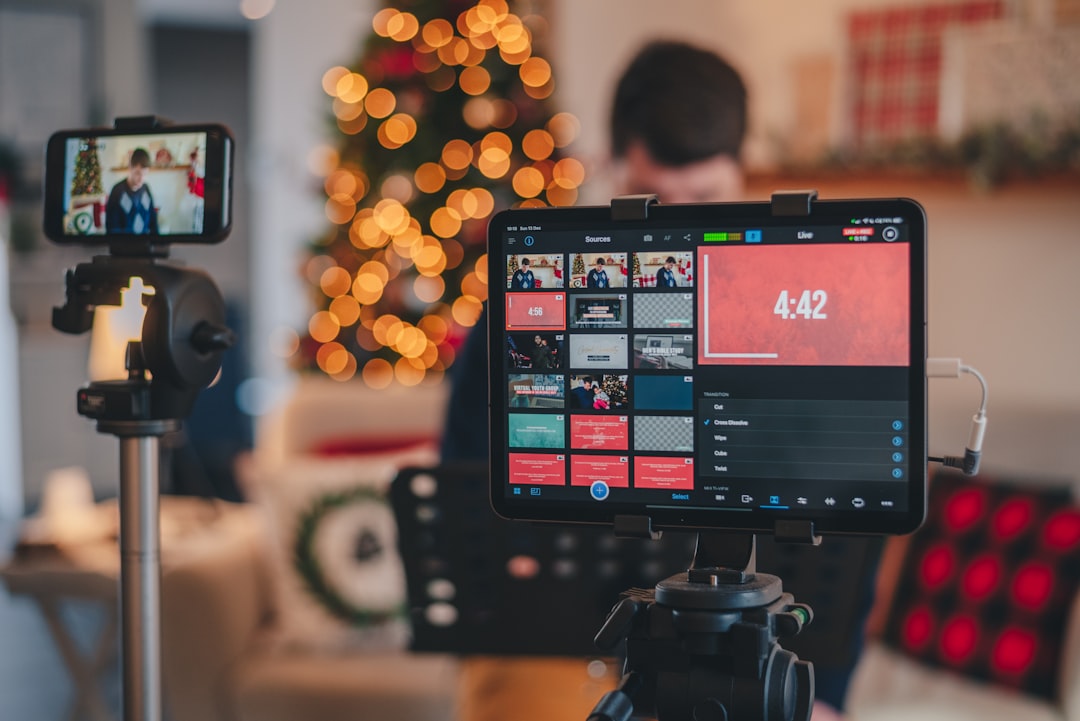
A stable livestream depends on more than choosing a high resolution. This guide gives you practical live streaming bitrate settings, upload-speed targets, encoder choices, and a repeatable troubleshooting checklist for 720p, 1080p, and 4K workflows across Twitch, YouTube Live, TikTok Live, and standard RTMP destinations.
Overview
Bitrate is the amount of data your stream sends each second, usually measured in kilobits per second (Kbps) or megabits per second (Mbps). A higher bitrate can preserve more detail, but it also demands more upload capacity and processing headroom. Resolution and frame rate matter too: 1080p at 60 frames per second generally requires more consistent encoding and network performance than 1080p at 30 frames per second.
Your internet plan should not be judged by download speed alone. Livestreaming uses upload speed, and the connection must remain stable for the entire broadcast. As a practical planning rule, keep meaningful overhead between your chosen video bitrate and your measured upload speed. A stream set to 6 Mbps should not rely on a connection that tests at exactly 6 Mbps. Other household activity, Wi-Fi interference, protocol overhead, and temporary congestion can all reduce the usable capacity.
Use the table below as a starting point rather than a permanent platform specification. Destination services can change bitrate limits, codec support, ingest behavior, and recommended settings. Check the current guidance in the dashboard for your chosen platform before a major broadcast.
| Scenario | Resolution and frame rate | Video bitrate starting range | Recommended upload target | Keyframe interval | Encoder | Audio bitrate |
|---|---|---|---|---|---|---|
| Basic Twitch or RTMP stream | 720p30 | 2,500–4,000 Kbps | At least 5 Mbps measured upload | 2 seconds, if required | Hardware H.264 or software x264 | 128–160 Kbps |
| Fast-motion 720p stream | 720p60 | 3,500–5,000 Kbps | At least 6 Mbps measured upload | 2 seconds, if required | Hardware H.264 or software x264 | 128–160 Kbps |
| Standard HD stream | 1080p30 | 4,500–6,000 Kbps | At least 8 Mbps measured upload | 2 seconds, if required | Hardware H.264, x264, or destination-supported codec | 160 Kbps |
| High-motion HD stream | 1080p60 | 6,000–9,000 Kbps | At least 10–12 Mbps measured upload | 2 seconds, if required | Hardware encoder preferred when available | 160–192 Kbps |
| High-detail workflow | 4K30 | Use the destination's current 4K guidance | Allow substantial headroom above the selected bitrate | Follow destination requirements | Hardware encoder usually preferred | 160–320 Kbps |
These ranges are intentionally conservative starting points. Twitch, YouTube Live, TikTok Live, and other RTMP services do not necessarily accept the same resolutions, bitrates, frame rates, or codecs. For multistreaming, your workflow may also be limited by the destination with the strictest requirements. Read the platform's current ingest instructions and test each destination, especially when using a multistreaming tool.
Checklist by scenario
For a reliable 720p stream
- Choose 720p30 for talking-head content, podcasts, interviews, and moderate-motion presentations.
- Use 720p60 for games, sports, music performance, or demonstrations where motion clarity matters.
- Start within the table's bitrate range and lower it if your connection or computer struggles.
- Use a wired Ethernet connection where possible. If you must use Wi-Fi, stay close to the router and reduce competing traffic.
- Run a private or unlisted test broadcast before your first public show.
For a 1080p stream
- Use 1080p30 when image detail matters more than smooth motion, such as interviews, teaching, or a podcast live stream.
- Use 1080p60 only when your camera, encoder, computer, and upload connection can sustain it together.
- Check the preview for blockiness during movement. If detail breaks up, adjust bitrate or reduce resolution before adding overlays and sources.
- Watch both network and encoding indicators in OBS or your streaming software. A clean network does not prevent an overloaded encoder.
- For multistreaming, confirm whether the service sends one feed to a relay or separate feeds to each platform. The network requirement can differ.
For 4K or demanding production
- Confirm that the destination accepts your intended 4K resolution, frame rate, codec, and bitrate before building the production around it.
- Prefer a hardware encoder when it produces the required quality and your computer supports it.
- Test the complete workflow with cameras, transitions, browser sources, recordings, and local capture active.
- Keep a 1080p fallback profile ready. A dependable lower-resolution stream is usually preferable to an unstable 4K broadcast.
For a standard OBS setup
- Open Settings > Output and choose the streaming output mode recommended by your current OBS workflow.
- Select the correct hardware encoder or x264 if software encoding is appropriate for your computer.
- Enter the target video bitrate, set keyframes according to the destination's instructions, and choose a suitable audio bitrate.
- In Settings > Video, set the base canvas to match your production and the output resolution to the stream profile you tested.
- Save separate profiles for 720p, 1080p, and any platform-specific workflow so you can change settings without guessing.
What to double-check
Run a bandwidth test at the same time and location you plan to stream. Test over Ethernet if that is your broadcast connection. Repeat the test at different times if your upload result varies substantially. Look at upload speed, latency, and consistency rather than treating one speed-test result as a guarantee.
Next, perform a five- to ten-minute private test using the full scene collection. Confirm that the destination receives the feed, audio stays synchronized, movement remains clear, and the stream does not report dropped frames. Include your microphone, music, alerts, browser sources, capture cards, and any remote guests in the test.
When reviewing OBS statistics, separate the problem type:
- Dropped frames caused by network: The connection to the ingest server cannot deliver data consistently. Test Ethernet, lower bitrate, choose a nearer or more reliable server when available, and stop competing uploads.
- Skipped frames caused by encoding: The encoder cannot keep up. Reduce output resolution or frame rate, lower encoder quality, close demanding applications, or switch to a supported hardware encoder.
- Rendering lag: OBS or the graphics system cannot render scenes quickly enough. Reduce complex browser sources, animated overlays, preview load, or GPU-heavy effects.
Also verify that your audio sample rate, capture-card settings, and camera frame rate are consistent. If the picture is stable but the sound is wrong, use a dedicated audio troubleshooting process rather than changing video bitrate at random. See the live stream audio troubleshooting guide for echo, noise, volume, and sync issues.
Common mistakes
- Using download speed as the main measurement: A fast download connection does not prove that upload capacity is sufficient.
- Choosing the maximum bitrate immediately: Begin with a tested, sustainable setting and increase quality only when the complete workflow remains stable.
- Ignoring overhead: Leave room above the stream bitrate for protocol overhead and normal connection variation.
- Changing several variables at once: Record the original resolution, frame rate, bitrate, encoder, and server before troubleshooting.
- Assuming platform settings are interchangeable: A profile that works on one live streaming platform may not meet another platform's current ingest requirements.
- Testing only a static scene: Motion, screen capture, browser sources, and transitions can expose encoding or rendering problems that a talking head does not.
- Relying on Wi-Fi for critical broadcasts: Wi-Fi can work, but wired networking is easier to diagnose and usually more predictable.
For a broader pre-show process, combine this guide with an OBS scene collection checklist and the multistreaming pre-show workflow.
When to revisit
Recheck your bitrate and internet speed plan before changing resolution, moving locations, adding a second platform, upgrading cameras, introducing remote guests, or switching encoders. Revisit it after major OBS, operating-system, driver, router, or platform updates, and at least twice a year even if the setup appears unchanged.
Before each important broadcast, use this short action list:
- Confirm the destination's current resolution, bitrate, keyframe, and codec guidance.
- Run an upload test on the connection you will actually use.
- Open the correct OBS profile and verify resolution, frame rate, encoder, audio, and keyframe settings.
- Run a private test with the complete scene collection for several minutes.
- Check OBS statistics for network drops, skipped frames, and rendering lag.
- Keep a lower-resolution fallback profile and a local recording if the show is important.
Record the result after each test. A simple log of date, platform, upload speed, bitrate, encoder, and observed errors turns future troubleshooting into a comparison rather than a guess.