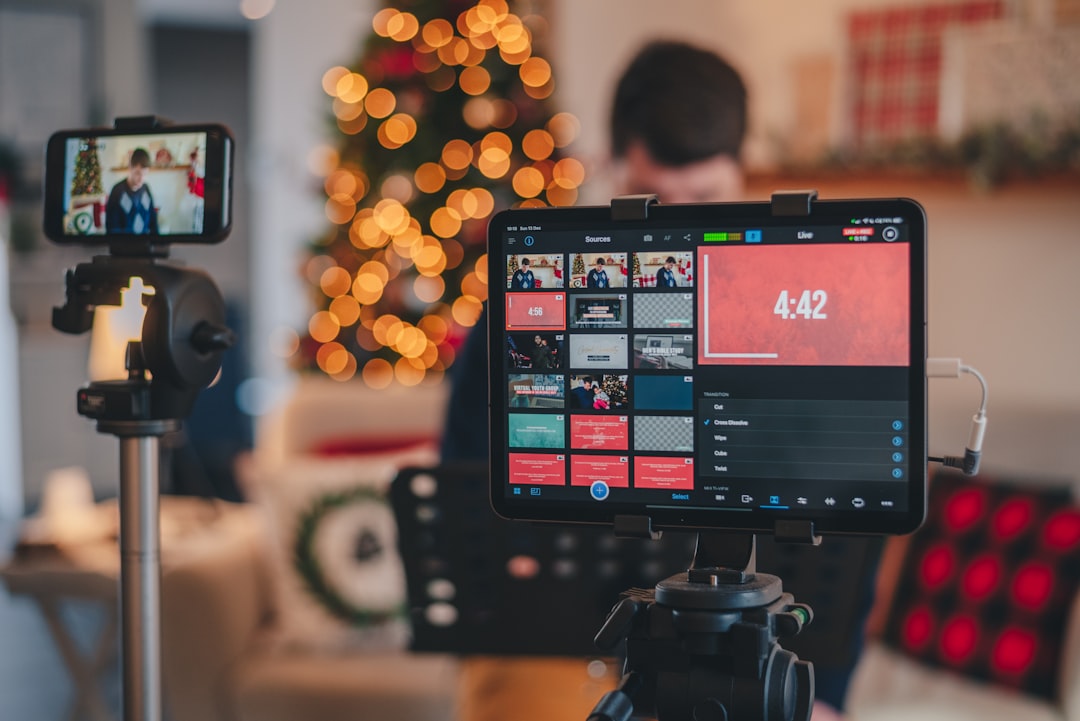
Clean audio matters more than elaborate visuals in a live broadcast. This live stream audio troubleshooting guide helps you identify echo, noise, low volume, distortion, monitoring problems, and sync delays, then test the fix before going live. Use it as a repeatable checkpoint whenever you change a microphone, interface, guest setup, streaming software, or platform.
Overview
Audio problems are often caused by the signal path rather than by one faulty device. Your voice may travel through a microphone, an interface or USB connection, an operating-system input, OBS Studio or another streaming program, a platform encoder, and finally the viewer's device. Monitoring may also create a second path that makes a correct broadcast sound wrong to you.
Start by changing one variable at a time. Confirm whether the problem appears in the local recording, in your headphones, in the platform's preview, or only in the final replay. This distinction prevents unnecessary equipment changes. For example, audio that is clean in an OBS recording but distorted on the platform may point to an encoding or platform-level issue, while audio that is already distorted in the recording usually needs attention closer to the microphone or input settings.
Before troubleshooting, note your current microphone, input device, sample rate, monitoring method, OBS filters, stream destinations, and whether guests are joining through a browser or call application. A short written record makes recurring problems easier to compare.
What to track
Keep a simple audio log for each broadcast. Record the date, show type, microphone, interface, software profile, platform or multistreaming tool, and any changes made since the previous session. Then track the symptoms below.
| Symptom | Likely causes | First checks |
|---|---|---|
| Echo or doubled speech | Speaker output entering the microphone, duplicated audio sources, or monitoring heard through the mic | Use headphones, mute desktop or browser audio sources, and inspect the OBS mixer for duplicate inputs |
| Background hum or hiss | Gain set too high, electrical interference, an unbalanced connection, or a noisy room | Lower input gain, move cables away from power supplies, test another port, and listen with filters disabled |
| Voice is too quiet | Microphone too far away, low input level, incorrect device selected, or excessive noise suppression | Confirm the selected input, move closer using consistent technique, and watch the mixer meter while speaking normally |
| Distortion or clipping | Input gain or software volume is too high, or a loud passage overloads the input | Reduce gain at the earliest stage and test normal speech plus your loudest expected moment |
| Audio is out of sync | Separate capture and playback paths, Bluetooth or wireless latency, guest-call delay, or video processing | Compare a local recording with the camera, then test wired monitoring and source-specific sync adjustments |
| Guest sounds different or disappears | Incorrect browser permission, muted call source, separate volume control, or platform routing issue | Ask the guest to check their input, confirm the call source is active, and record a private test together |
Track the peak level and typical speaking level in your OBS mixer rather than chasing a single number. Leave enough headroom for laughter, emphasis, music, or an unexpected interruption. The exact meter position depends on your voice, microphone, processing, and delivery; the practical goal is clear speech without redlining or forcing viewers to turn their volume up.
Also record whether the issue affects every destination or only one. Multistreaming can expose differences between a local mix, a distribution service, and individual platform previews. If you use several destinations, test the destination that has historically produced the most complaints instead of assuming all outputs are identical.
Cadence and checkpoints
Before every broadcast
- Connect the microphone and confirm that the intended input is selected in the operating system and streaming software.
- Put on headphones. If you hear your own voice twice, stop and find the second monitoring path before continuing.
- Speak at your normal level for at least 20 seconds, then include a louder phrase and a pause. Check for clipping, gate cutoffs, hiss, and room noise.
- Make a short local recording. Review both the beginning and the loudest section instead of relying only on the live meter.
- Test every guest or media source that will be heard on stream. A music player, browser tab, call application, and alert source can each have its own volume control.
- Confirm that the platform preview or private test reflects the same mix as the local recording.
For OBS audio settings, open the relevant source properties and mixer controls rather than changing every source at once. Common filters include noise suppression, noise gate, compressor, and limiter. Use them conservatively and in a deliberate order: remove unnecessary room noise, control inconsistent volume, and prevent peaks. Aggressive suppression can make speech sound watery; a gate set too tightly can remove word endings; and a compressor without sensible makeup gain can increase background noise.
After every equipment or software change
Repeat the local recording and guest test after changing a microphone, interface, USB port, driver, camera, browser, OBS profile, sample-rate setting, or monitoring device. Do not assume that a device with a familiar name is automatically selected. Verify the actual input shown by the software and check that the device is not being used by another application with a different format.
Monthly or quarterly
Review the audio log and compare several broadcasts. Look for recurring complaints, gradual increases in background noise, frequent clipping, inconsistent guest levels, or fixes that work only temporarily. Recheck your cable connections, microphone position, mounting, room noise, filter chain, and backup plan. A short maintenance session can reveal a loose connector or a changed software profile before it becomes a public failure.
How to interpret changes
Change location in the signal chain based on where the fault first appears. If the microphone sounds bad in headphones before it reaches OBS, inspect placement, gain, cable, interface, and input selection. If the local recording is clean but your monitoring sounds doubled, the broadcast may be fine and the problem may be a monitoring loop. If the local recording is clean but the replay is delayed, quiet, or distorted, compare the platform mix, stream settings, and destination-specific processing.
Echo is the most useful example. First mute speakers and use wired headphones. Next, check for two versions of the same microphone in the mixer, such as a direct microphone source plus an audio-capture source that includes it. Then check browser or call audio. Remove duplicate sources one at a time and make another recording. Do not add an echo-removal filter until you have ruled out duplicated routing; a filter cannot reliably fix a signal that is being captured twice.
For noise, separate constant noise from occasional noise. A steady hiss or hum may respond to lower gain, cleaner cabling, or a different power arrangement. Keyboard clicks, fans, and traffic require microphone placement, room changes, or carefully tuned suppression. For low volume, solve the physical distance and input-gain problem first. Raising every fader at once can make the voice louder while also raising noise and clipping risk.
For sync problems, determine whether the delay is constant. A constant offset may be corrected with a source-specific sync adjustment after a recorded test. A delay that changes over time may indicate buffering, wireless monitoring, processing load, or mismatched capture paths. Use wired monitoring during diagnosis and avoid judging sync from a platform preview that is itself delayed.
When a guest is involved, ask where the problem begins: in the guest's headphones, in the call, in the capture source, or in the final stream. Keep a shared test phrase, such as counting from one to ten, so you can compare recordings without guessing. Document the successful input and output choices for repeat guests.
When to revisit
Revisit this guide before each broadcast, after changing equipment or software, and whenever a viewer reports an audio issue. Schedule a broader review monthly or quarterly, depending on how often you stream. The review should include a local recording, a destination preview, the audio log, and any viewer or guest feedback.
Update your own checklist when OBS changes its menus, when a platform alters its audio controls or limits, when a multistreaming workflow is introduced, or when your microphone and interface combination changes. Menu names and available options can vary by software version, operating system, and device, so confirm the current controls in your installation rather than copying an old screenshot.
Keep a fallback plan: a known-good microphone, a spare cable, a wired headset, a saved software profile, and a short explanation you can give viewers if audio fails. Before going live, run this final sequence: select the input, wear headphones, test normal and loud speech, record locally, check for duplicate sources, verify guests and media, inspect the destination preview, and save the result in your audio log. That small routine turns live stream audio troubleshooting from an emergency reaction into a repeatable part of your live streaming setup.