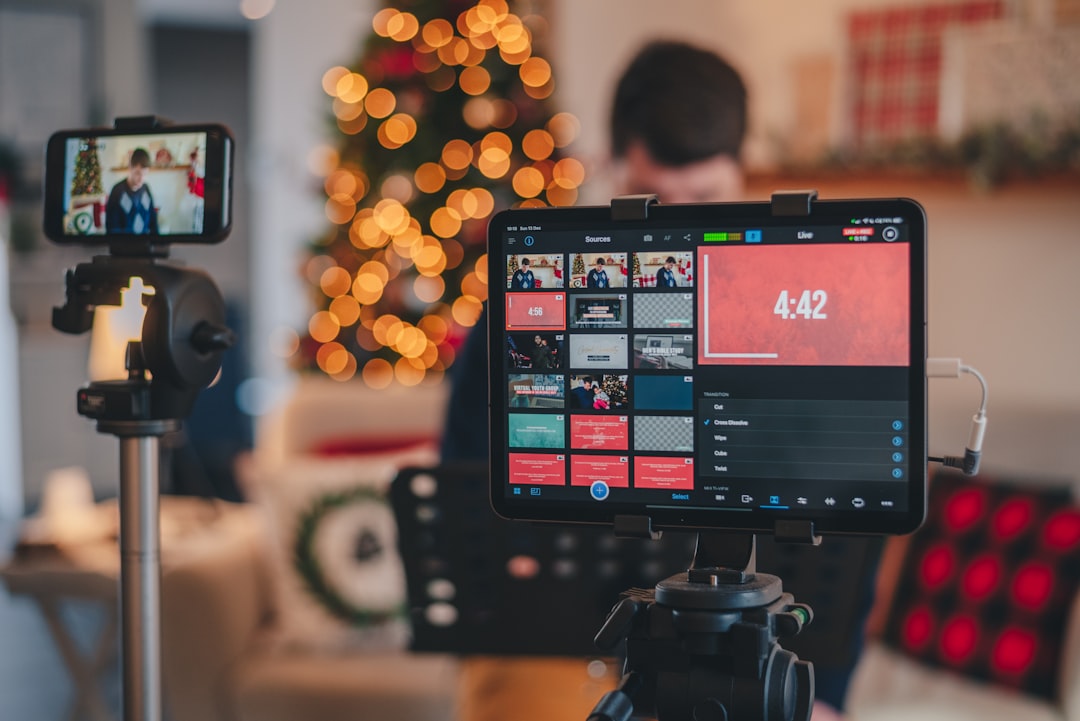
The best microphone for streaming is the one that suits your room, connection preferences, speaking style, and production budget. This guide compares USB, XLR, and wireless microphones, then gives you a repeatable way to estimate total cost and configure clean audio for Twitch, YouTube, TikTok, podcast live streaming, or other broadcasts.
Overview
Audio usually matters more to a live audience than small differences in camera resolution or overlays. Viewers may tolerate an imperfect background or simple scene design, but inconsistent volume, clipping, echo, and distracting noise make a stream difficult to follow.
There is no single best microphone for every creator. USB microphones are usually the simplest starting point because they connect directly to a computer and often include headphone monitoring. XLR microphones can offer a flexible, expandable setup, but they require an audio interface or mixer and introduce more gain, cable, and routing decisions. Wireless microphones are useful when you move around, host guests, or need a clean setup away from a desk, although battery management and wireless interference become part of the workflow.
Examples below are reference points rather than permanent rankings. Product availability, bundled accessories, software support, and prices change, so verify the current specification before buying. The same microphone can sound very different depending on placement, room reflections, gain, and processing.
| Type | Example models to investigate | Connection | Monitoring | Software or hardware needs | Room suitability | Relative cost band | Best use case |
|---|---|---|---|---|---|---|---|
| USB | Elgato Wave:3, Audio-Technica ATR2100x-USB | USB | Often built in; verify model | Computer, streaming software, optional control app | Good for a treated or moderately quiet desk setup | Budget to mid | Solo creators who want a quick setup |
| USB/XLR hybrid | Shure MV7, RØDE PodMic USB | USB and XLR | Typically available; verify included controls | USB for simplicity; interface required for XLR | Useful when you want to start simply and expand later | Mid to premium | Creators planning a future interface or mixer |
| XLR | RØDE PodMic and similar broadcast-style microphones | XLR | Through an interface or mixer | Audio interface or mixer, XLR cable, and gain control | Good when the room and signal chain are carefully managed | Budget to premium, excluding accessories | Studios, podcasts, and multi-input productions |
| Wireless | DJI Mic 2 and similar wireless systems | Wireless receiver, USB, or camera connection depending on system | Depends on transmitter and receiver | Receiver, charged transmitters, and compatible input | Useful for movement, demonstrations, and guests | Mid to premium | Mobile or multi-person live shows |
Choose USB when you want the shortest path from purchase to broadcast. Choose XLR when you need multiple microphones, long-term routing flexibility, or a mixer-centered production. Choose wireless when movement is more important than a fixed desk position. A dynamic-style microphone placed close to the speaker can be forgiving in an untreated room; a sensitive condenser-style microphone may capture more room sound, keyboard noise, or HVAC noise. Treat that as a setup consideration, not a universal quality rule.
How to estimate
Estimate the complete live stream audio system, not just the microphone. Use this formula:
Total audio cost = microphone + required connection hardware + accessories + monitoring + replacement or backup allowance.
For a USB setup, the required connection hardware may be zero if your computer has a suitable USB port. For an XLR setup, include an audio interface or mixer, an XLR cable, and possibly a boom arm or shock mount. For wireless, include the receiver, transmitters, charging solution, and any adapters needed for your camera, computer, or streaming device.
Then assign each item to a relative cost band rather than relying on an old price list:
- Essential: the microphone and the connection method required to make it work.
- Strongly recommended: headphones, a stable stand or boom arm, and a pop filter or windscreen when appropriate.
- Optional: an audio interface upgrade, hardware mixer, spare cable, backup microphone, acoustic treatment, or wireless accessory.
Compare complete systems on equal terms. A low-cost XLR microphone may not be the cheaper choice after adding an interface, cable, stand, and headphones. Conversely, a USB microphone may become less attractive if you expect to add two guests or route multiple sources later. Record the date, product page, currency, tax treatment, and shipping assumptions in your estimate so you can recalculate it when the inputs change.
Inputs and assumptions
Before choosing a microphone, answer five questions.
- How many voices will be live? One voice favors a direct USB setup. Guests or co-hosts may justify an interface, mixer, or separate wireless channels.
- How noisy is the room? Listen for computer fans, traffic, air conditioning, keyboard clicks, and reflective walls. A microphone that can be positioned close to your mouth may reduce the need for aggressive noise removal.
- Will you move? Desk commentary, gaming, and screen-sharing usually favor a fixed microphone. Demonstrations, performances, and walk-and-talk segments may favor wireless audio.
- What does your streaming software accept? Confirm that your computer or capture workflow recognizes the microphone or interface. In OBS, test the input in the Audio Mixer before going live and avoid assuming that a device selected by the operating system is also selected in your scene.
- How much time can you spend troubleshooting? USB generally reduces hardware decisions. XLR and wireless can be more adaptable, but they add more points to check when audio fails.
Place the microphone close enough for a strong voice signal, but not directly in the path of plosive bursts. Start with the microphone slightly to the side of your mouth, keep the capsule aimed according to the manufacturer's pattern, and maintain a consistent distance. Use headphones while testing. Speakers can feed your voice back into the microphone and create echo.
Set gain while speaking at your normal streaming volume, including your loudest expected moments. Watch the input meter and leave headroom rather than pushing the signal toward the top of the scale. If the raw signal clips, lowering a later filter will not restore the lost detail. Add processing cautiously: a high-pass filter can reduce low rumble, a gentle compressor can narrow volume differences, and a limiter can help prevent peaks from becoming harsh. These tools cannot repair a poor microphone position or a reflective room.
For a practical checklist, review the live stream audio troubleshooting guide. Your internet connection and video bitrate also affect the complete broadcast, so use the bitrate and internet speed guide when configuring the rest of the live streaming setup.
Worked examples
Example one: solo desk streamer. The creator speaks from one chair in a moderately quiet room and wants the fewest setup steps. The estimate includes a USB microphone, a boom arm or stable stand, headphones, and a pop filter if needed. No interface is included. The main risks are USB compatibility, desk vibration, and selecting the wrong input in streaming software. Before buying, confirm the computer port, operating system support, headphone-monitoring method, and available desk space.
Example two: podcast-style show with guests. The creator expects two or more local voices and wants independent level control. The estimate includes one microphone per speaker, an interface or mixer with enough inputs, the required cables, headphones for each participant, stands or arms, and one spare cable. The key assumption is that every speaker can remain close to their microphone. If guests join remotely, test the call audio separately and prevent duplicate monitoring paths that can create echo.
Example three: mobile demonstration. The creator walks between a desk and a demonstration area. The estimate includes a wireless system with enough transmitters, a receiver, charging accessories, a backup connection plan, and headphones for a pre-show range test. The important outcome is not merely sound quality in a quiet room; it is stable audio while moving. Test clothing noise, distance, battery status, and the receiver's connection to the streaming device before each show.
For any example, calculate the cost twice: once for the minimum workable setup and once for the reliable setup with monitoring, mounting, cables, and a backup plan. This makes the trade-off visible without treating the microphone's shelf price as the full investment.
When to recalculate
Revisit your microphone decision when prices, product availability, compatibility, or included accessories change. Also recalculate when your room changes, you add guests, move from desk streaming to mobile production, switch computers, or begin using multiple platforms. A workflow that works for one microphone on Twitch may need different routing when you multistream to Twitch, YouTube, and TikTok; the multistreaming workflow guide can help you test that change before a public broadcast.
Use this pre-show routine after every meaningful equipment change:
- Connect the microphone and select the intended input in the operating system and streaming software.
- Put on headphones and check for echo, hum, clipping, and delayed monitoring.
- Speak at normal and peak volume while watching the meter.
- Record a short local test and listen on headphones and a second device if possible.
- Confirm that guests, alerts, music, and desktop audio do not overpower speech.
- Save the working scene or profile and write down the gain, placement, and filter settings.
If the sound is still inconsistent, change one variable at a time: placement, gain, cable, input device, or filter. This turns troubleshooting into a repeatable process instead of a last-minute equipment search. Once your audio is stable, document the setup alongside your scenes and sources using the OBS scene collection guide. Recheck the full estimate quarterly and before a major show, because the best microphone for streaming is ultimately the one that fits your current room, production, and workflow.