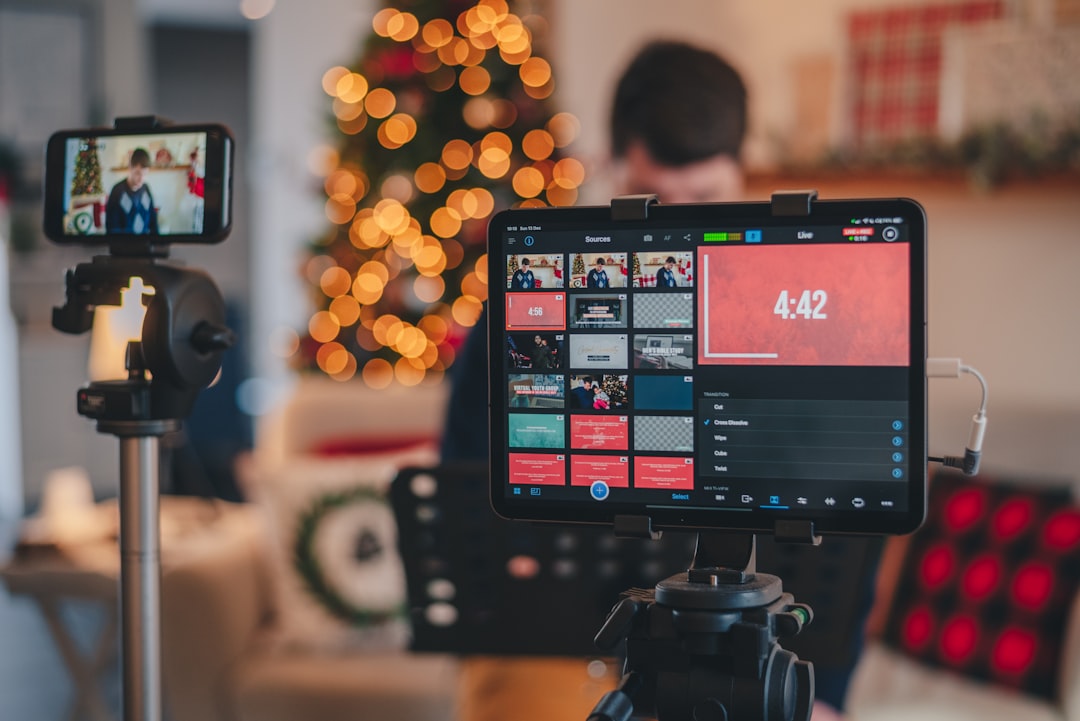
Choosing the best camera for live streaming is less about buying the most advanced body and more about matching image quality, reliability, room conditions, and connection options to the show you actually produce. This guide compares webcams, mirrorless cameras, and PTZ cameras, then gives you a repeatable way to estimate total cost and configure framing, exposure, white balance, focus, power, and heat management.
Overview
A camera is only one part of a dependable live streaming setup. Your choice also affects capture hardware, cables, power, software compatibility, desk space, lighting, and how much time you spend troubleshooting before going live.
Webcams are usually the simplest starting point. They connect directly by USB, take little space, and work well for desk-based talking streams, gaming commentary, video calls, and occasional broadcasts. Their limitations become more noticeable in dim rooms, busy backgrounds, or productions that need a cinematic look or interchangeable lenses.
Mirrorless cameras can produce a more flexible, camera-like image. They are a strong fit for creators who already own compatible lenses, want control over perspective and depth of field, or plan to use the camera for both live and recorded video. A clean HDMI output generally requires a capture card, while USB streaming may be available depending on the camera and its software or firmware support. Confirm the exact behavior of the model before buying.
PTZ cameras are designed for remote operation. Their pan, tilt, and zoom controls make them practical for classrooms, podcasts, churches, performances, interviews, and multi-angle studios where the operator needs to change views without touching the camera. They can cost more than a basic webcam and may require additional network, control, or mounting equipment.
| Camera type | Image quality | Autofocus | Low-light performance | Lens flexibility | Heat limits | Power options | USB or HDMI | Capture card | Relative price |
|---|---|---|---|---|---|---|---|---|---|
| Webcam | Good for close desk shots; varies by sensor and lighting | Often automatic; quality varies | Usually adequate with good light; weaker in dark rooms | Fixed or limited | Typically suited to long desk sessions, but check the model | USB power | Usually USB | Usually not needed | Entry to mid |
| Mirrorless | High potential with suitable lens and lighting | Can be strong, but test face and eye tracking | Often better with a larger sensor and fast lens | Interchangeable lenses | Varies significantly by body, resolution, room temperature, and recording mode | Battery, USB power, or adapter where supported | USB, HDMI, or both depending on model | Often needed for HDMI | Mid to premium |
| PTZ | Consistent wide-room coverage; quality varies by sensor and lens | Usually designed for remote operation and preset positions | Varies; lighting still matters | Built-in powered zoom | Designed for extended operation, but confirm manufacturer limits | Adapter, network power, or other supported method | USB, HDMI, network, or a combination | Depends on the selected output | Mid to premium |
These are category-level comparisons, not guarantees for every model. Before purchase, verify current specifications, firmware support, operating-system compatibility, output resolution, cable requirements, and the camera's behavior during long sessions.
How to estimate the right camera and total setup cost
Start with the show rather than the product page. Write down the number of presenters, expected stream length, camera angles, room size, available light, and whether you need to move or remotely control the camera. Then use this simple estimate:
Total setup cost = camera + lens, if needed + capture device, if needed + power solution + mounting + cable and adapter allowance + lighting upgrades + replacement or contingency allowance.
For a webcam, the calculation may be close to camera plus mount and lighting. For a mirrorless setup, add the lens, continuous power solution, HDMI capture device if required, dummy battery or adapter if supported, and a secure mount. For PTZ, include the camera, controller or control software where applicable, mounting, network or signal cabling, and any switcher or capture hardware required by your workflow.
Use three decision scores before comparing products:
- Reliability score: Can the camera stay connected, powered, and focused for the full broadcast?
- Production score: Does it provide the framing, movement, lens choice, and output your scenes require?
- Expansion score: Will it still work if you add guests, another angle, a larger room, or multistreaming?
A less expensive camera that works immediately may be a better purchase than a premium body that requires several extra components. Conversely, replacing a simple webcam later can cost more time than planning for a camera system that supports your next production step.
Inputs and assumptions
Room and lighting
Camera quality is limited by the light reaching the sensor. Face a window only if changing daylight will not make exposure inconsistent; otherwise, use controllable light placed in front of or slightly to the side of the presenter. Avoid placing a bright window directly behind you unless you deliberately want a silhouette.
Framing and lens choice
Choose the camera position first, then select the lens or field of view. A wide view can show a desk or performance space but may distort a face at close range. A tighter view can look more focused but requires enough distance between the camera and presenter. Leave modest headroom, keep the eyes near the upper third of the frame, and check the background for distracting edges, glare, or clutter.
Connection and capture
USB is generally the least complicated route for a single-camera desk setup. HDMI can provide a useful path from a mirrorless or PTZ camera to streaming software, but it commonly introduces a capture-card requirement. Check whether the output is clean, whether overlays can be disabled, what resolution and frame rates are available, and whether the cable length is practical for your room.
Power and heat
Battery-only operation is a weak assumption for long streams. Confirm whether the camera supports continuous USB power, an adapter, or a manufacturer-approved dummy battery. Keep vents unobstructed and test the camera for longer than your planned broadcast. Heat behavior can change with resolution, frame rate, room temperature, screen settings, and whether the camera is simultaneously recording.
Worked examples
Example 1: One-person desk stream
Assumptions: one presenter, one fixed angle, moderate room lighting, USB streaming software, and sessions under several hours. A webcam may be the most efficient choice. Budget for a stable mount and a controllable key light before spending on a higher-end camera. If the image looks soft or noisy, improve lighting and camera placement first; those changes may deliver more visible improvement than a camera upgrade.
Example 2: Interview or podcast with a polished look
Assumptions: two presenters, separate framing preferences, long sessions, and a desire to reuse footage for clips. A mirrorless system can offer lens flexibility and a more deliberate composition. Add one camera per required angle, continuous power, secure mounts, and capture hardware for each HDMI feed where necessary. Test autofocus during a two-person conversation rather than judging it only on a static face.
Example 3: Performance, classroom, or multi-angle room
Assumptions: the operator needs to change views from a desk, presenters move through the room, and the show may run for extended periods. PTZ cameras can reduce the need to physically reposition cameras. Estimate not only camera cost but also control, mounting, signal routing, network requirements, and the time needed to create and test camera presets.
In each example, record the assumptions in a simple buying worksheet. If a camera meets the image requirement but fails the power or connection requirement, it is not a complete solution.
Setup instructions for a reliable camera feed
- Mount and position the camera: Place it at or slightly above eye level for a direct-to-viewer shot. Keep it stable and far enough away to avoid an overly wide, distorted perspective.
- Set the frame: Sit or stand in the position you will use on stream. Adjust the camera rather than relying on heavy digital cropping. Check the edges of the frame and make sure movement will not take you out of view.
- Set exposure: Begin with a shutter speed appropriate to your chosen frame rate, then adjust aperture and gain or ISO to achieve a clear image. Avoid allowing automatic exposure to brighten and darken whenever a monitor, window, or bright object changes in the background.
- Set white balance: Match the setting to your main light source and keep it consistent. Mixed daylight and artificial light can create uneven skin tones, so simplify the light sources where possible.
- Choose focus behavior: Use continuous face or eye autofocus when it is reliable for your scene. For a fixed desk position, manual focus can prevent distracting focus shifts. Mark your position so you can return to the same focal plane.
- Connect and test: Connect USB or HDMI, select the camera in your streaming software, and confirm resolution, frame rate, audio sync, and image orientation. A camera feed is not ready merely because it appears in the preview.
- Run a stress test: Leave the complete setup running for longer than a normal pre-show check. Watch for heat warnings, dropped connections, power interruptions, focus hunting, and cable strain.
For scene design and source organization, see the OBS Studio Scene Setup Guide. Pair the camera test with a review of microphone options, because a sharp picture cannot compensate for unreliable audio.
When to recalculate
Revisit this decision before buying, not only after something fails. Recalculate when camera or capture-device prices change, a manufacturer releases a replacement or firmware update, your streaming software changes compatibility, or a model is discontinued. Also review the setup when you move rooms, add presenters, extend broadcast length, introduce multiple angles, change from USB to HDMI, or begin producing clips and recorded programs alongside live shows.
Before each major upgrade, repeat the worksheet: required angles, session length, lighting conditions, output type, power method, capture needs, mounting, and total cost. Check the manufacturer's current documentation for firmware, ports, heat guidance, and supported operating systems. Then test the exact configuration in your streaming software before committing to a live broadcast.
The practical rule is simple: choose the least complicated camera that meets today's framing and reliability needs, but account for the next production change you can reasonably anticipate. A stable webcam, a properly powered mirrorless camera, or a well-planned PTZ system can each be the best live streaming camera when it fits the room and workflow.